By: Liz Washer
Redheads, ready to up your batting average? As a professional makeup artist, I get a lot of questions about how to correctly apply false eyelashes. Here’s what you need to know to apply like a pro:
1. You have a variety of styles to choose from! Check out your local drugstore or beauty supply shop to see what’s available. To keep the look natural, look for slim, clear, flexible bands (nothing too thick or too dark, unless you plan to wear heavy eyeliner), wispy styles (the less “uniform” the lash, the more believable it looks), and realistic lengths (especially if you wear glasses). Or go all out and get your glam on.
2. If you’ve never applied a strip lash before, start with a half or “demi” length that fits easily on the outer half or third of your eye. These are much easier to apply. You can also trim a full lash to a demi length – some people even find it easier to cut lashes in half or thirds and applying piece by piece, rather than all at once. Your choice!
3. Start by gently removing the lash from its container and placing it against your eye to see how the band fits – very often, they’re too long to wear comfortably. Trim the band from outside in so it fits your eye shape properly – removing the longest lashes will keep the nicely tapered shorter fibers to blend with your natural lashes. You can always keep the piece you trimmed away and stack it on top of the lash band at the outer corner of your eye for extra flair!
4. Bend and flex the lash band to help it shape itself to your eye (I sometimes wrap them around a brush handle to achieve that nice curve) – this will help prevent the ends from lifting up.
5. Apply thin strip of glue (I swear by Duo waterproof adhesive in Clear), with a little extra on the corners. You want a solid stripe of glue but not so thick that it starts seeping down and gumming up the lashes.
6. Let the glue set for 30-45 seconds before application (I usually give them a little wave in the meantime) – you want the glue to be sticky enough that you won’t be struggling to hold them in place while they dry.
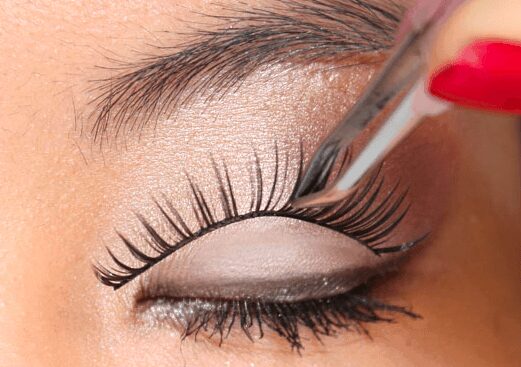
7. Place the strip on top of your lashes in the center, & then adhere the corners (using tweezers if you find it helpful). Press the band as close to the natural lash line as possible; you don’t want a visible gap. I tend to sit them right on top of the natural lashes and then press them back into place. Looking down into a mirror can help with placement.
8. Once the glue has set, “pinch” the false lash together with your natural lashes. You can also gently add a bit of mascara to marry the two sets together.
9. Touch up the strip with eyeliner as needed (sometimes the dried glue looks a bit shiny, so you can matte it down again with eyeliner if desired).
10. Peel off gently from the outside in when removing your makeup. I don’t recommend sleeping in your makeup, and that includes false lashes!
11. Tip! Never share false lashes (or mascara) with others. You may be able to get a few wears out of your own falsies if you keep them neat, but don’t mix and match with friends. Think of false eyelashes like underwear!
12. Practice, practice, practice! Don’t get too frustrated too soon, this isn’t easy the first few times you do it but it’s rather addictive once you do!